The Ringlight is a circular light that generates a soft and diffused light, allows a completely uniform illumination of the subject … it reduces face spots and dark circles and also illuminates the eyes. This type of light used in different fields has been very successful for videos for stories on instagram, Tic Tok and youtube, and has also always been used in fashion and glamor photography.
To make this little tutorial we used the Godox ringlight led Lr120 10 “that is 25cm in size. Great to always carry with us both for videos on our social networks and for taking portraits at any time, certainly € 45 well spent! It also offers the possibility to vary the light color from 3000K to 6000K and the power from 10% to 100%.
Inside its purchase kit you can find two supports for the smartphone and a table stand.
–>Link al Ringlight<–
We used our Canon Eos R for these shots
–>Link alla canon Eos R<–
With our 24-70mm f2.8, used at 70mm f4
–>Link alla lente utilizzata <–
HOW TO USE IT FOR PORTRAITS AND SELFIES
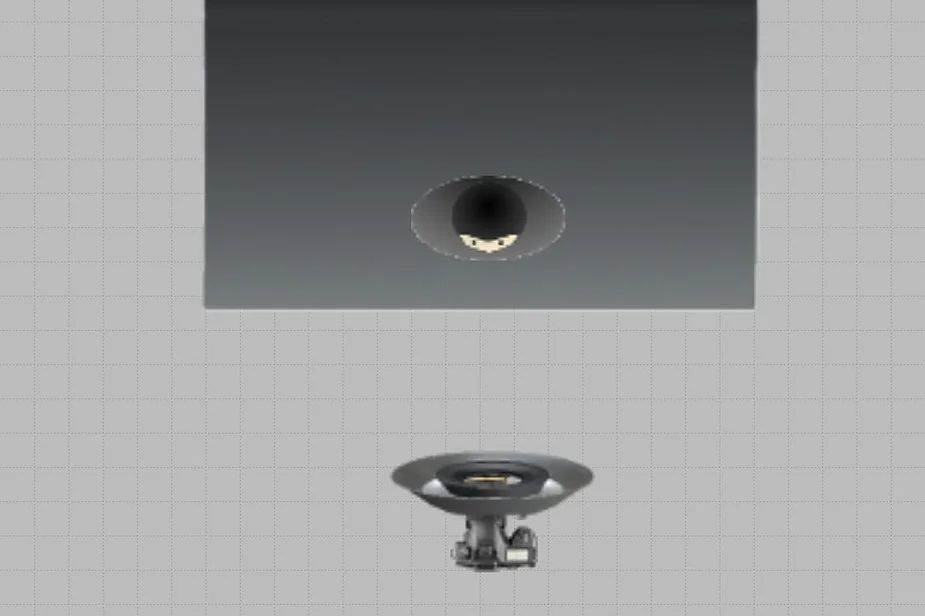
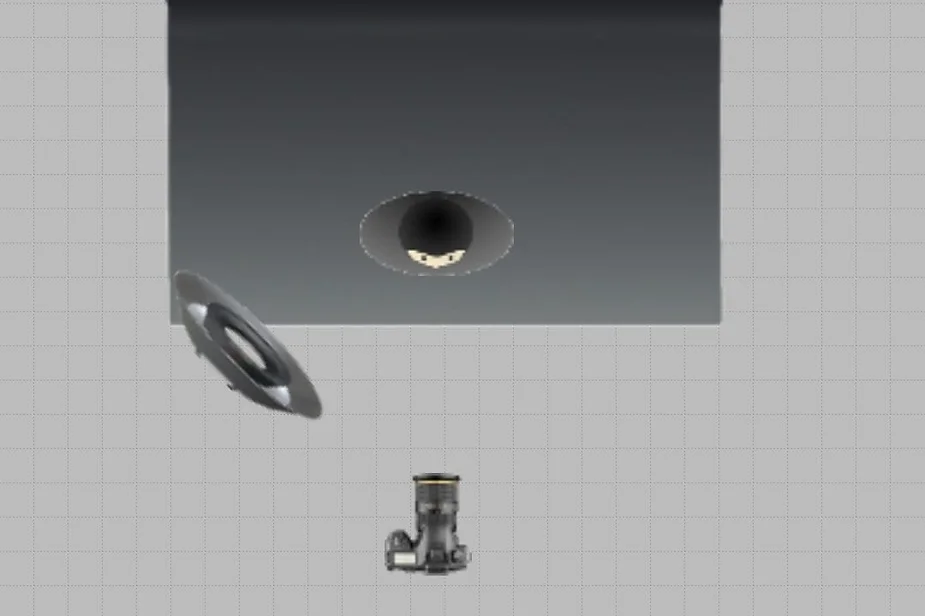
mainly we shot with four different photo sets on a black background. One front by inserting the camera inside the lamp, the second by moving it to 45 ° from our subject, the third by positioning the light at 90 ° from the subject and the fourth by positioning it next to the room.
To create spectacular portraits we recommend 3 small tricks:
Take your pictures by placing the camera at eye level
Focus your eyes, and the subject will be in focus
Use photographic optics above 50mm (if you use the smartphone the telephoto lens)
But how to place the lights? is one of the issues that complicate shooting the most … light is the foundation of a good photograph! To make things easier we only used our ringlight, here is every set we made in detail!
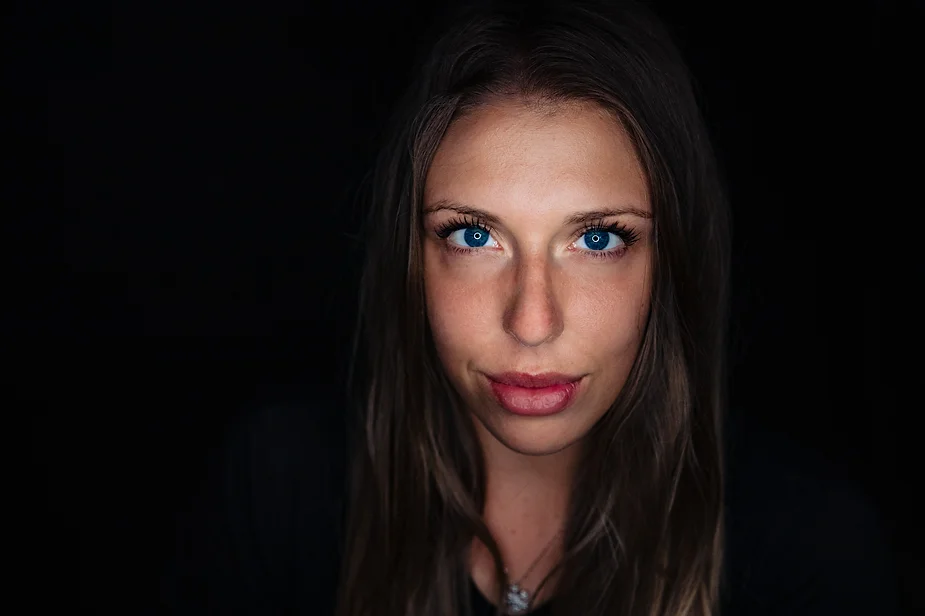
The first set
with the light completely in front of the subject it is certainly the most used set, as well as simpler to make. the effect is certainly beautiful as well as simple.
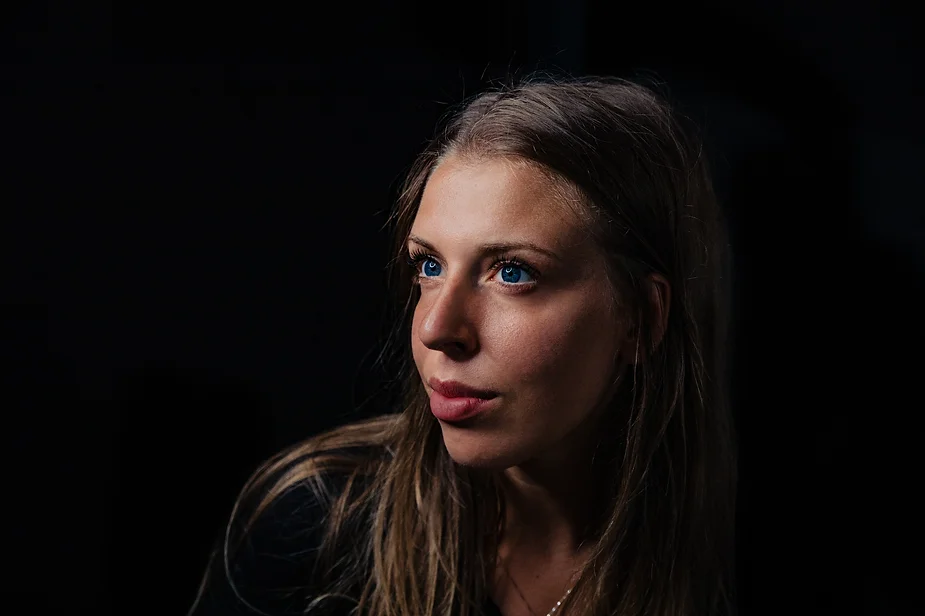
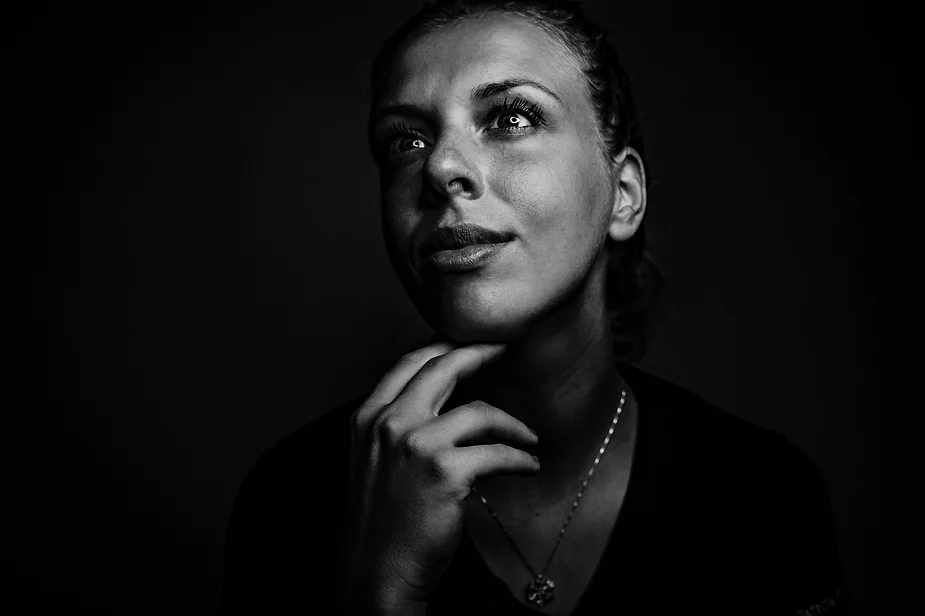
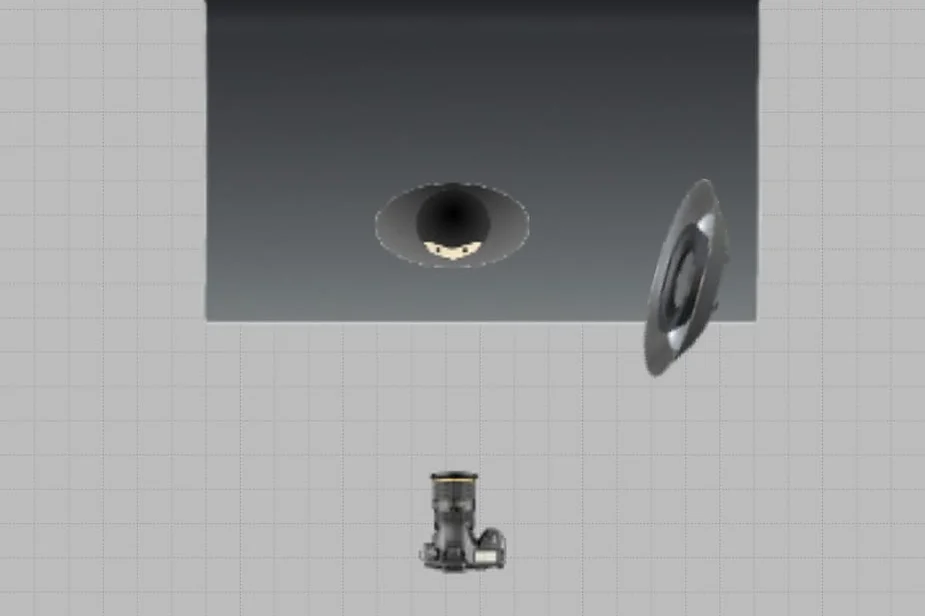
The second set
with cutting light at 45 ° with respect to the subject it is certainly what we like best, less obvious as well as more natural. Useful for giving three-dimensionality to the face while maintaining the softness of this splendid light. In this case we have reproduced the Caravaggesque light, that is the light that generates a shadow on one of the cheeks while keeping the face completely in light.
The third set
It was created by positioning the ringlight at 90 ° with respect to the subject and the light, generating strong and contrasted shadows … it is a more complicated way to use the ringlight than the previous ones, in case the light is too contrasted We recommend using of a white reflector on the opposite side to lighten the shadows.
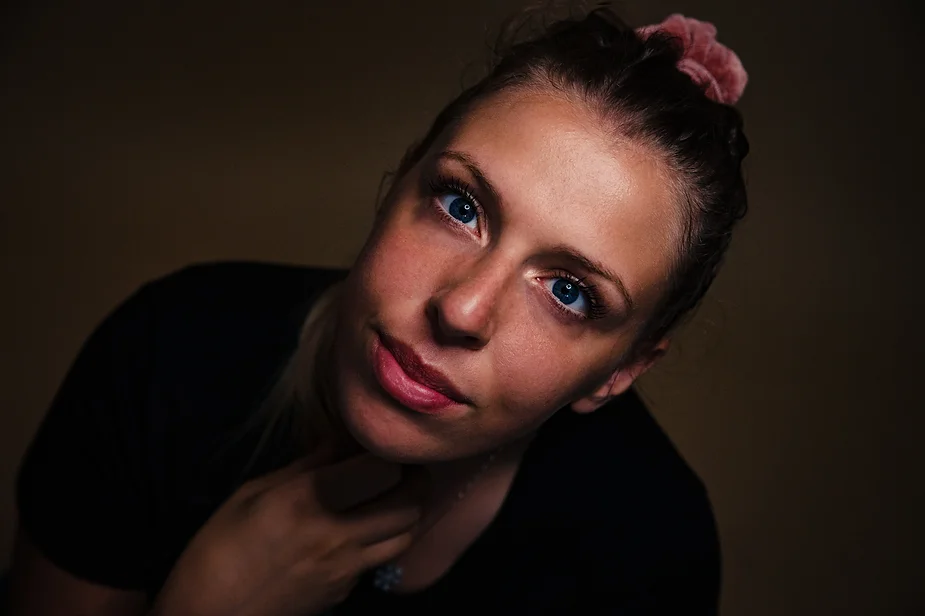
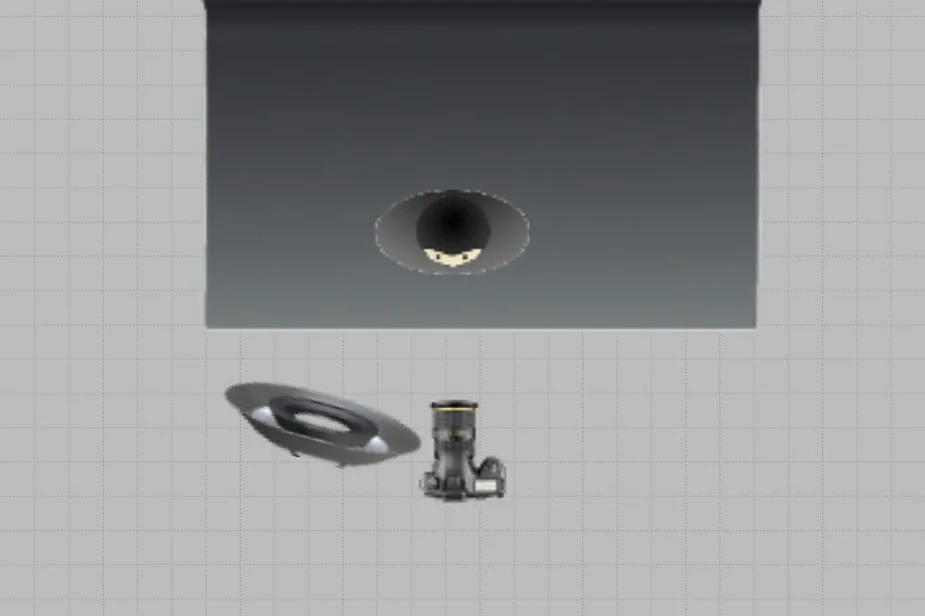
The fourth set
it was instead made by positioning the light next to the camera and higher than the subject, in order to have a perspective on the face in the foreground showing the clothing. It is a streamlining perspective, since everything that is further away from the objective will be smaller and on the contrary.
Let us know if you enjoyed our little tutorial and what you think!